Why Rembrandt lighting?
Rembrandt Harmenszoon van Rijn was a great artist who holds an honorary place in photography thanks to his expressive and distinctive lighting style. The famous “Rembrandt triangle” became popular long before the invention of cameras.
Rembrandt wasn’t the inventor of this lighting setup — similar techniques were used by other painters as well. However, he masterfully adapted this approach in his portrait work, which gave the style its unique name. Some sources note that most of his portraits were created in a special room where lighting played a key role, and Rembrandt often positioned his models in a way that ensured consistent and characteristic light.
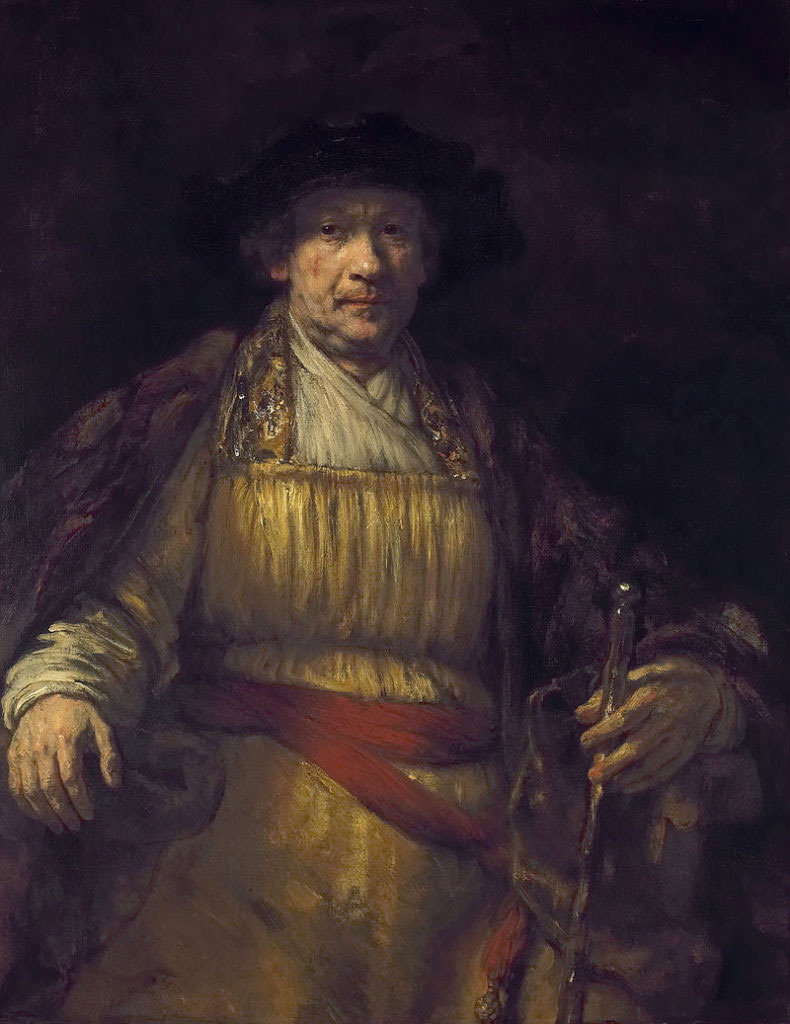
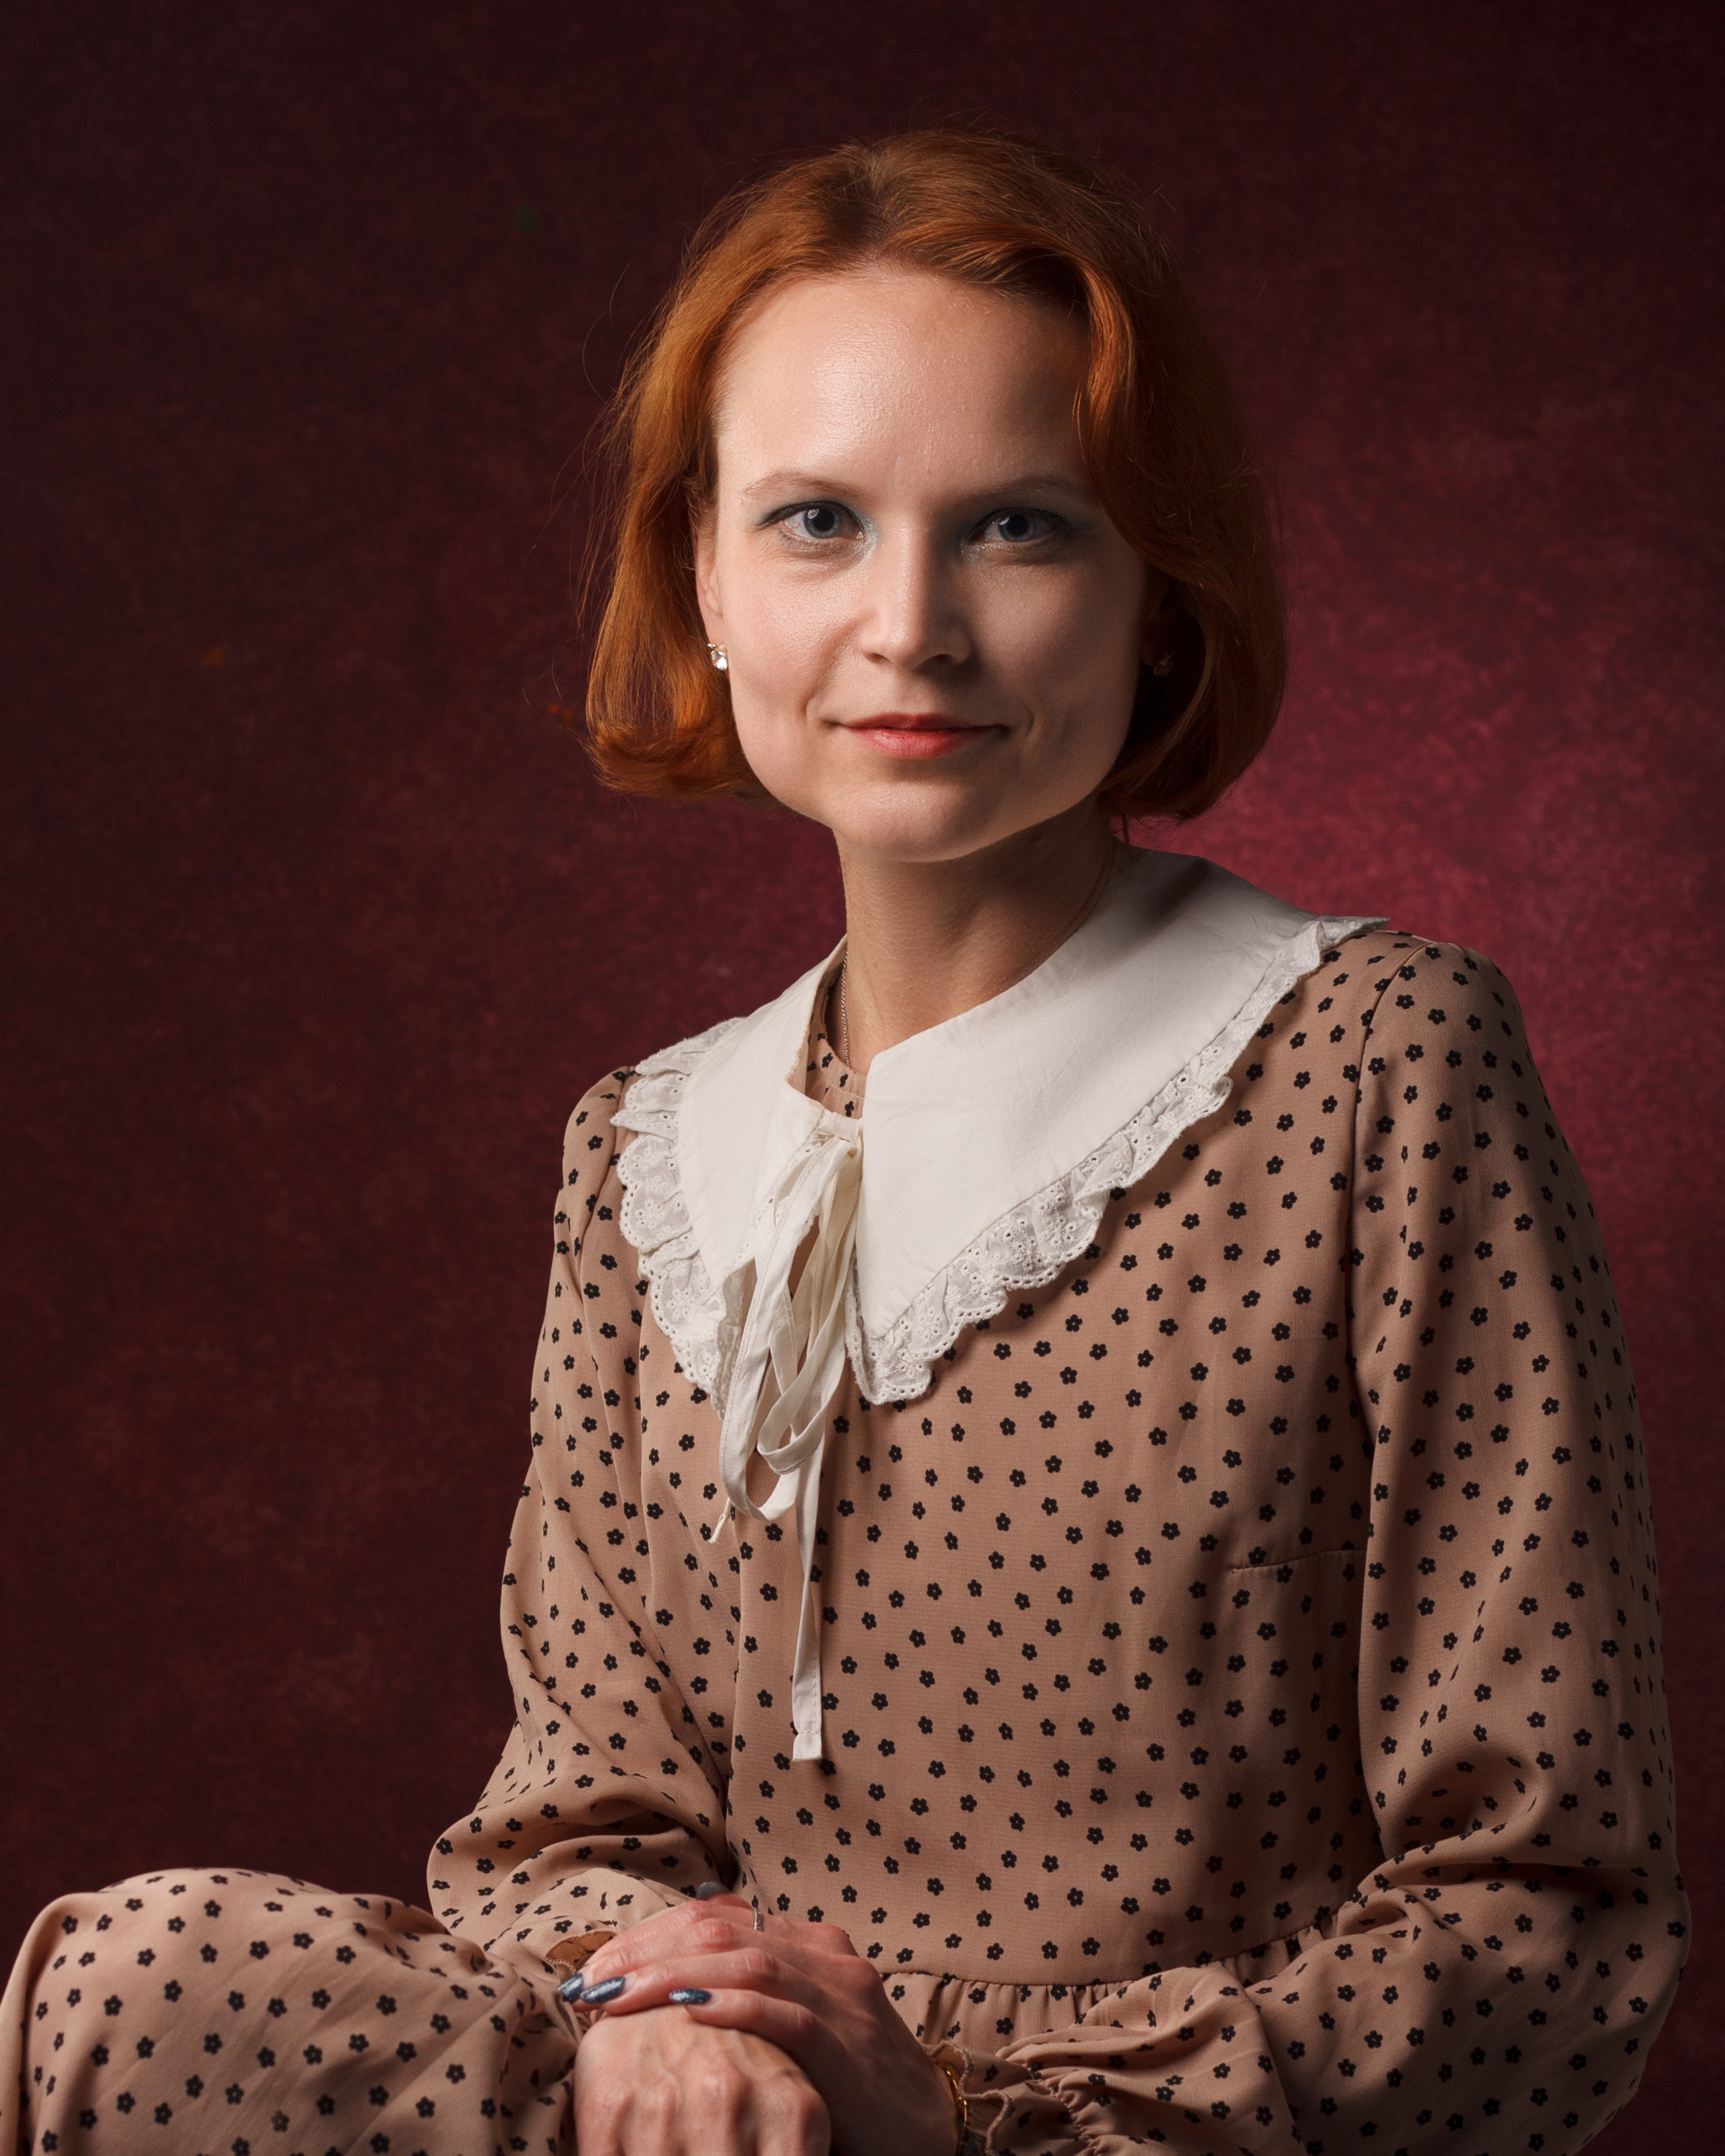
The lighting setup is defined by the triangle of light on the cheek. The size and shape of this triangular highlight should not exceed the dimensions of the eye and the width of the nose. This unique feature embodies the characteristic “Rembrandt lighting, ” enriching the overall highlights and giving the portrait its distinctive depth.
Why is this lighting setup so popular?
It doesn’t require much equipment — a window and a camera are enough. By positioning the model correctly, you can achieve that signature lighting effect.
The setup is very simple and hard to mess up. It’s also easy to recognize: anyone with even a little interest in painting or photography can spot Rembrandt lighting.
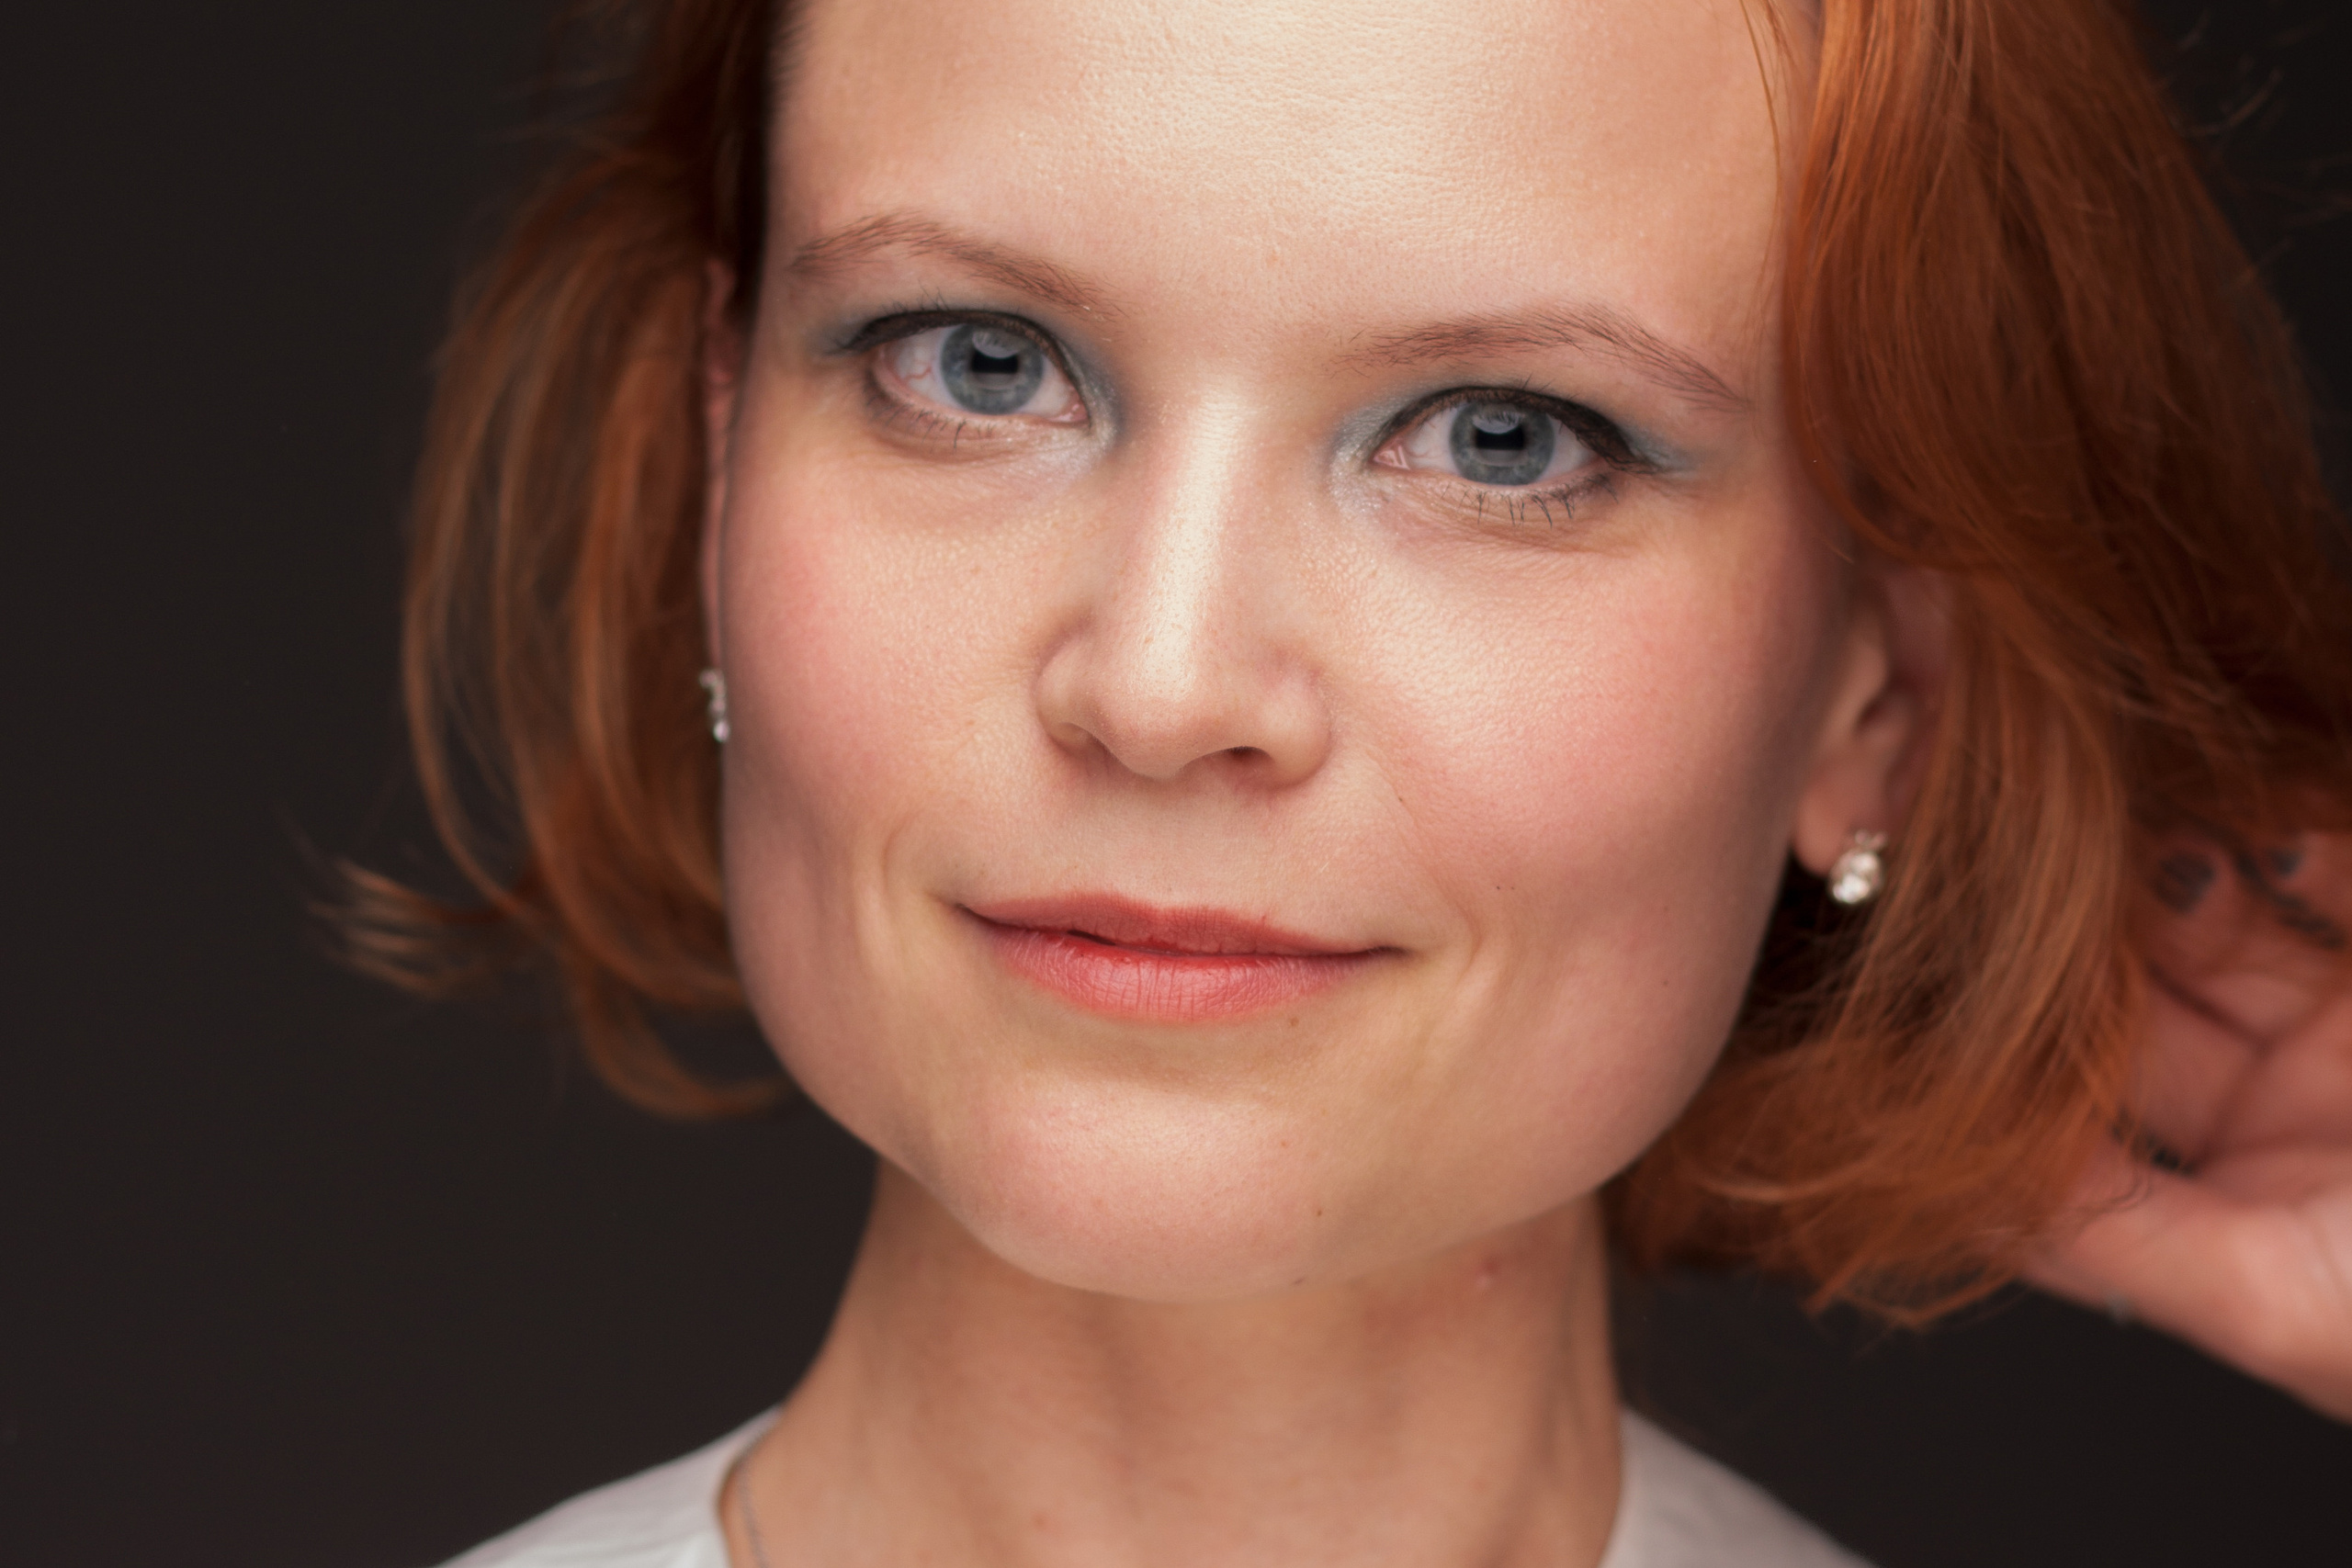
This light placement makes the face appear slimmer and emphasizes the jawline beautifully. With the right approach, almost anyone can look attractive under this lighting scheme.
How to set up the lighting scheme?
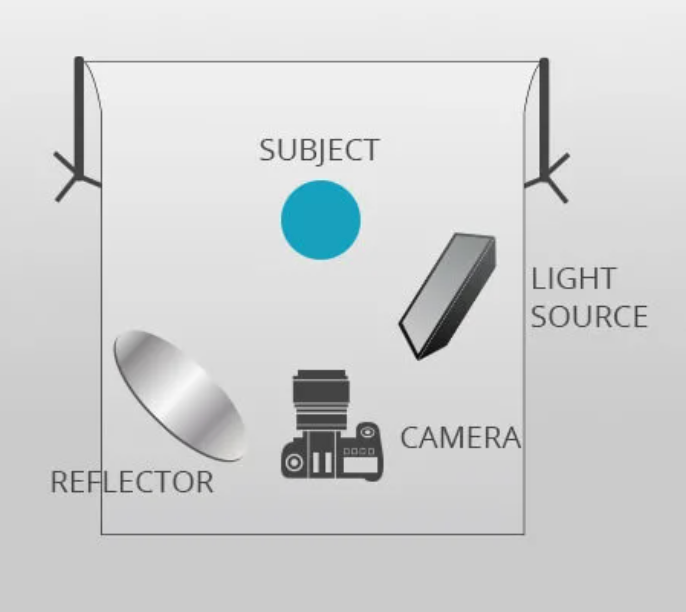
The setup consists of a light source placed at a 45-degree angle to the camera and directed at the subject. The light (or flash) should be raised above eye level so that it shines from top to bottom. If it’s not elevated, you’ll get a harsh line dividing the two halves of the face.
The greater the angle relative to the subject, the deeper the shadow and the sharper the light-to-dark transition. It’s important not to move too far to the side; otherwise, the eye on the shadowed side will lose its catchlight and appear lifeless.
Use a reflector!
A reflector helps fill in shadows and reduce excessive contrast.
High contrast can make the image look unappealing, with harsh, jagged shadows that ruin the overall impression. If you don’t have a reflector, try using an additional light source to softly illuminate the entire scene.
What is Rembrandt lighting good for?
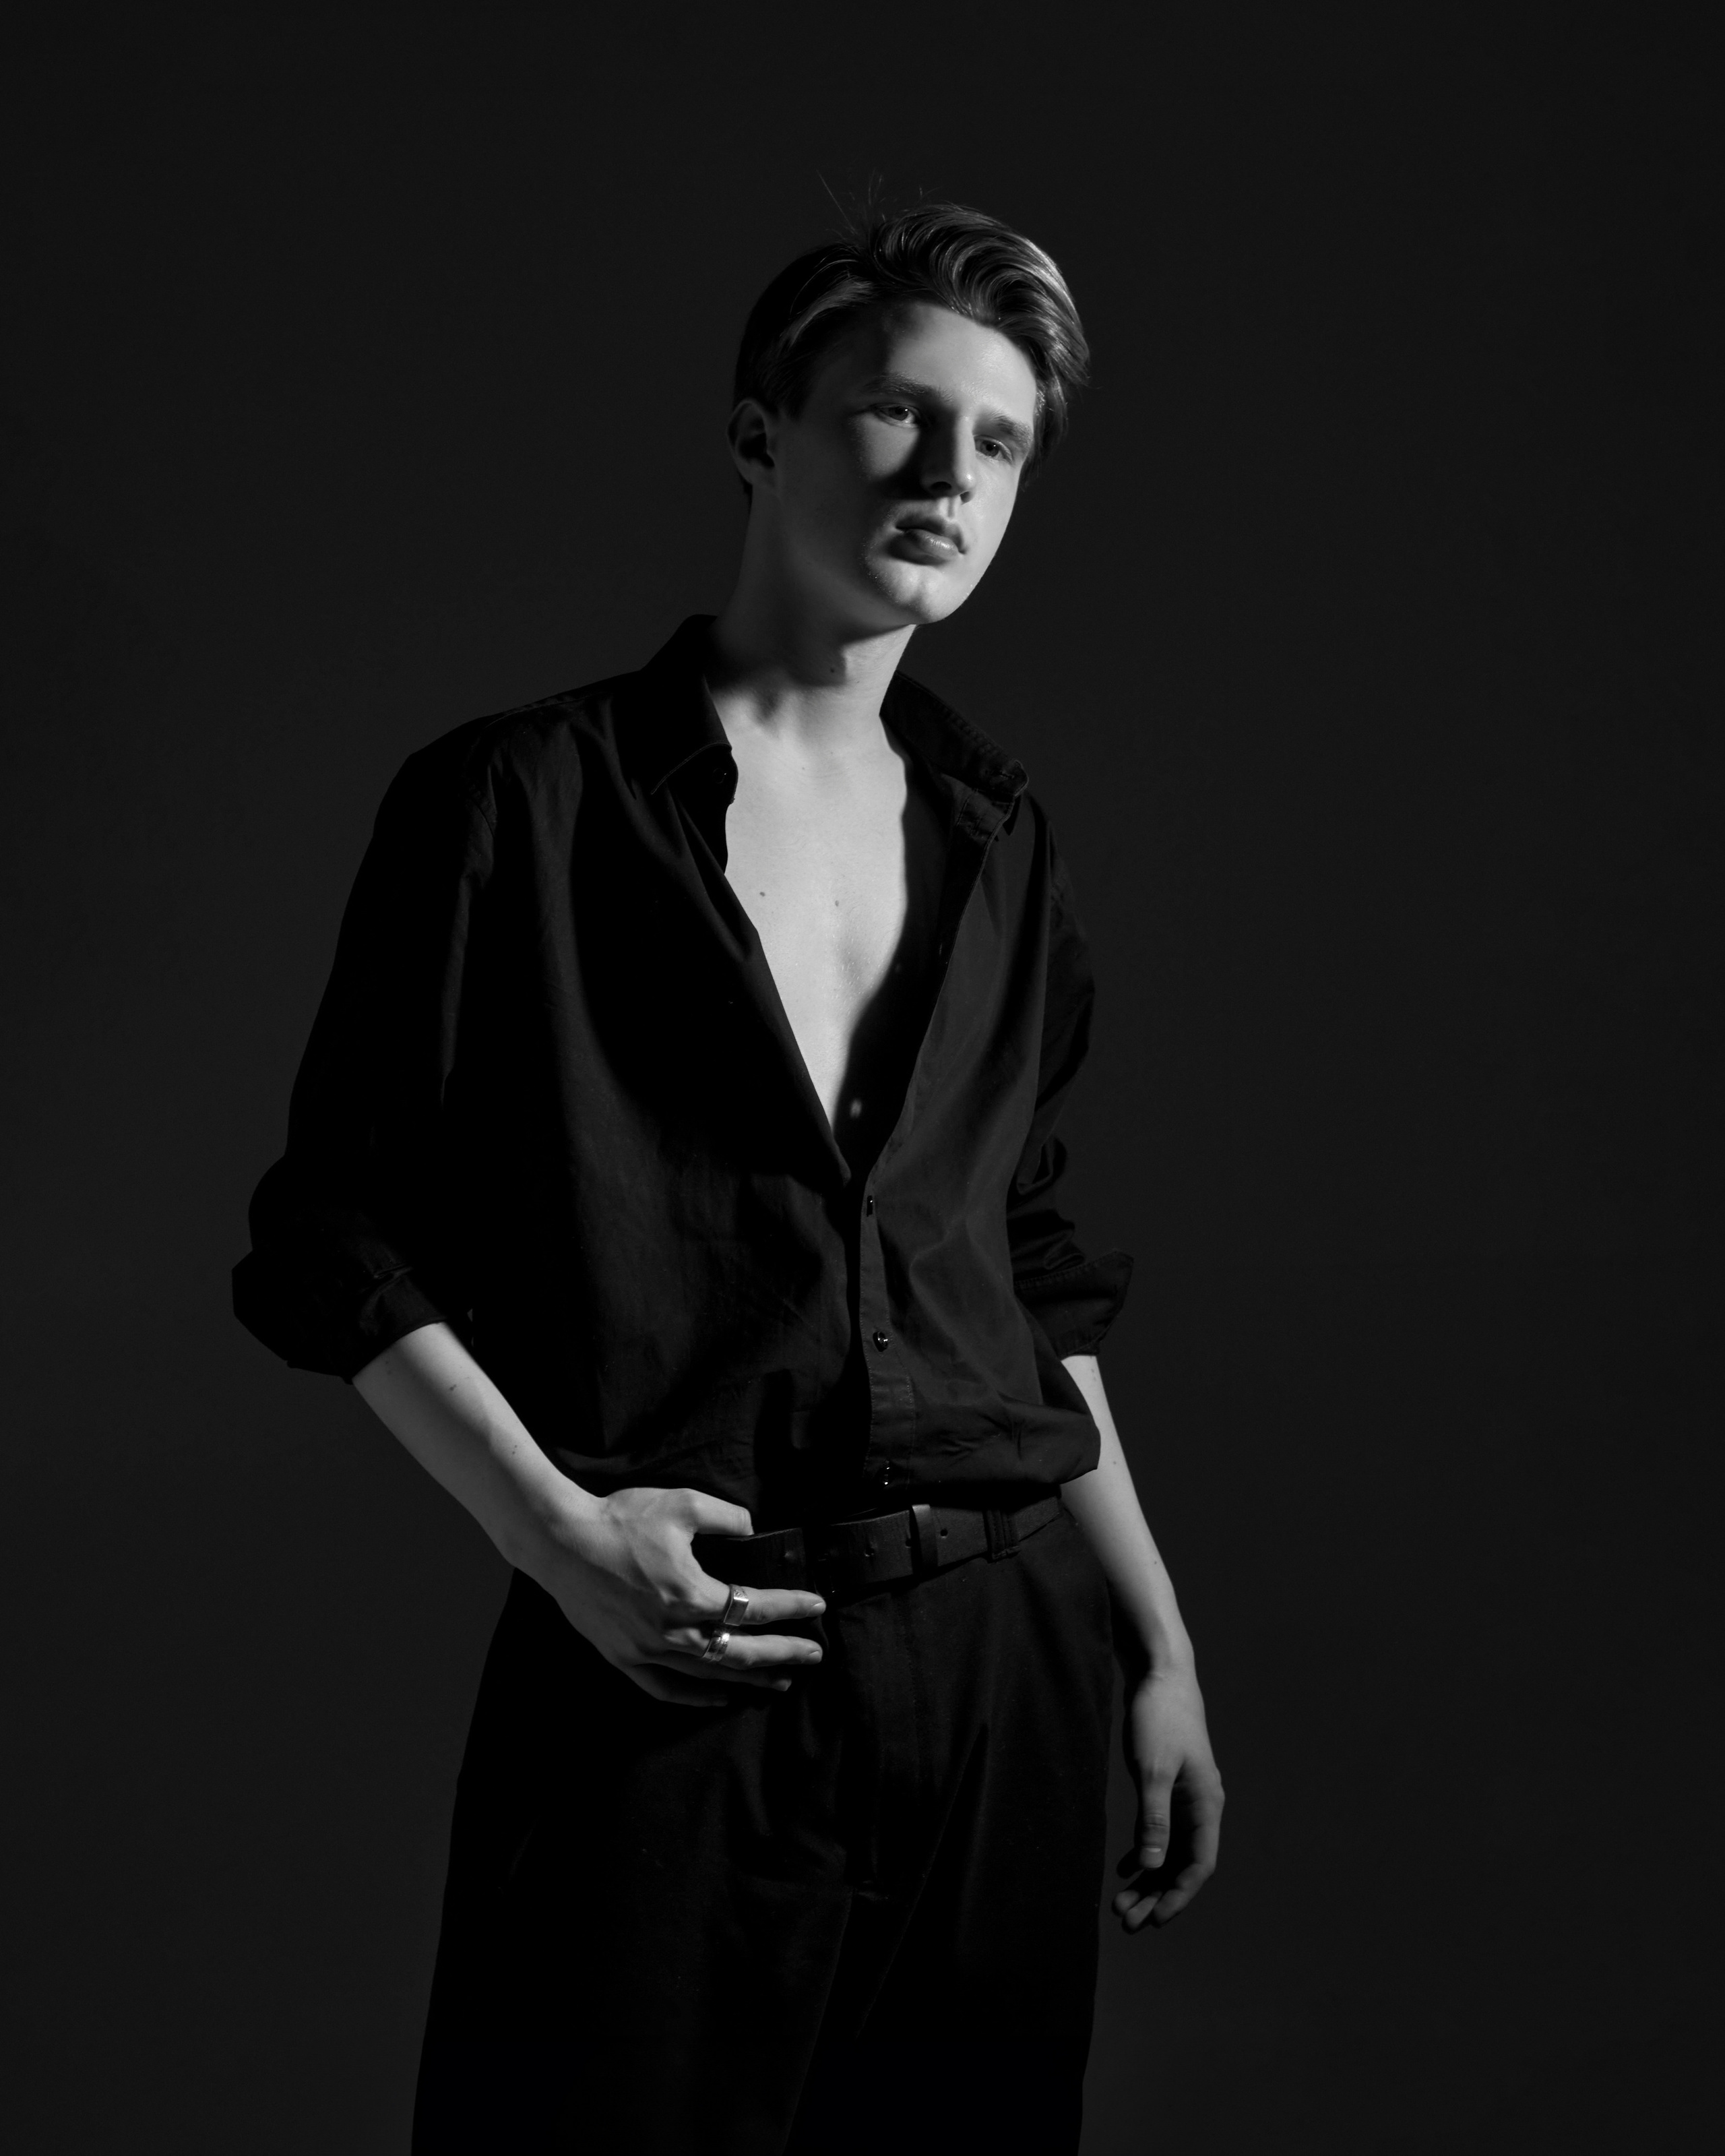
This lighting setup is very versatile. It works for creating dramatic male portraits or soft, cheerful female portraits by filling in the shadows to reduce any excessive moodiness.
Mastering Rembrandt lighting can save almost any photoshoot, which is why it’s a must-have skill in every photographer’s toolkit.
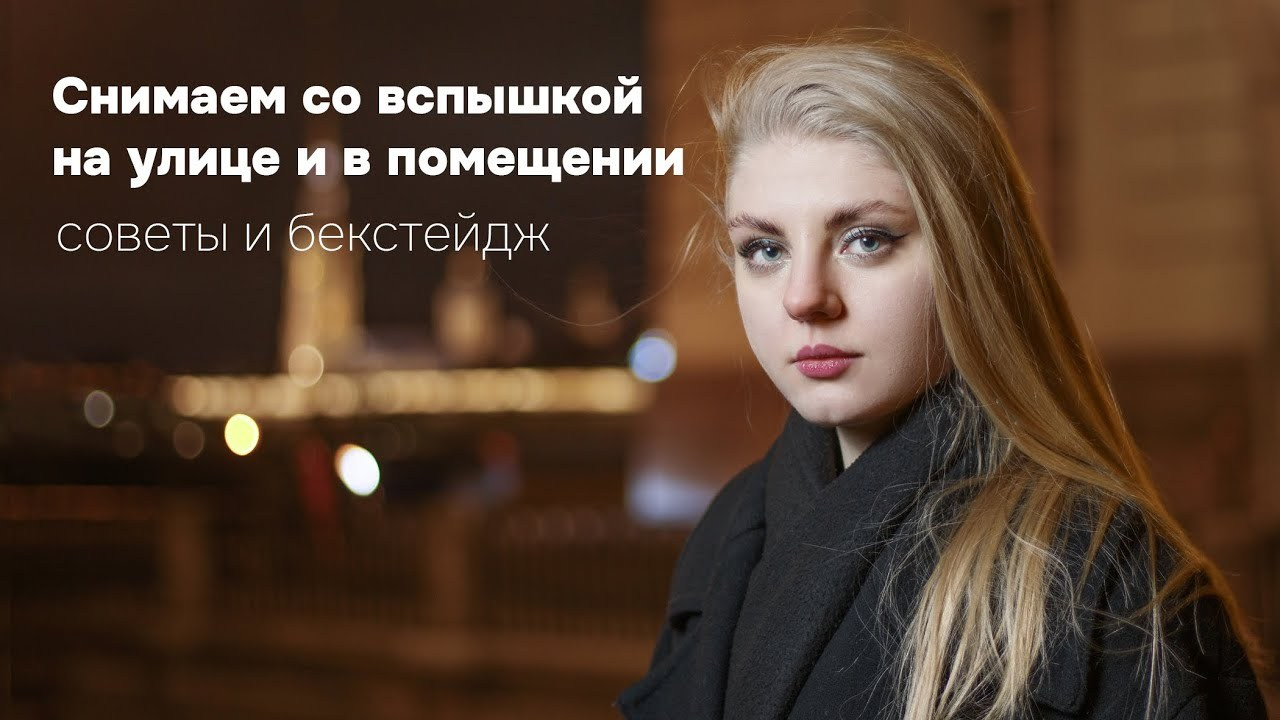
If you want to learn more about working with light in detail, check out my video on shooting with artificial light in different conditions.
I don’t have sponsors, so I’ll rely on shares of this article on social media if you enjoyed it.
May the light be with you!
Articles and lessons about photography

Strobism in photography


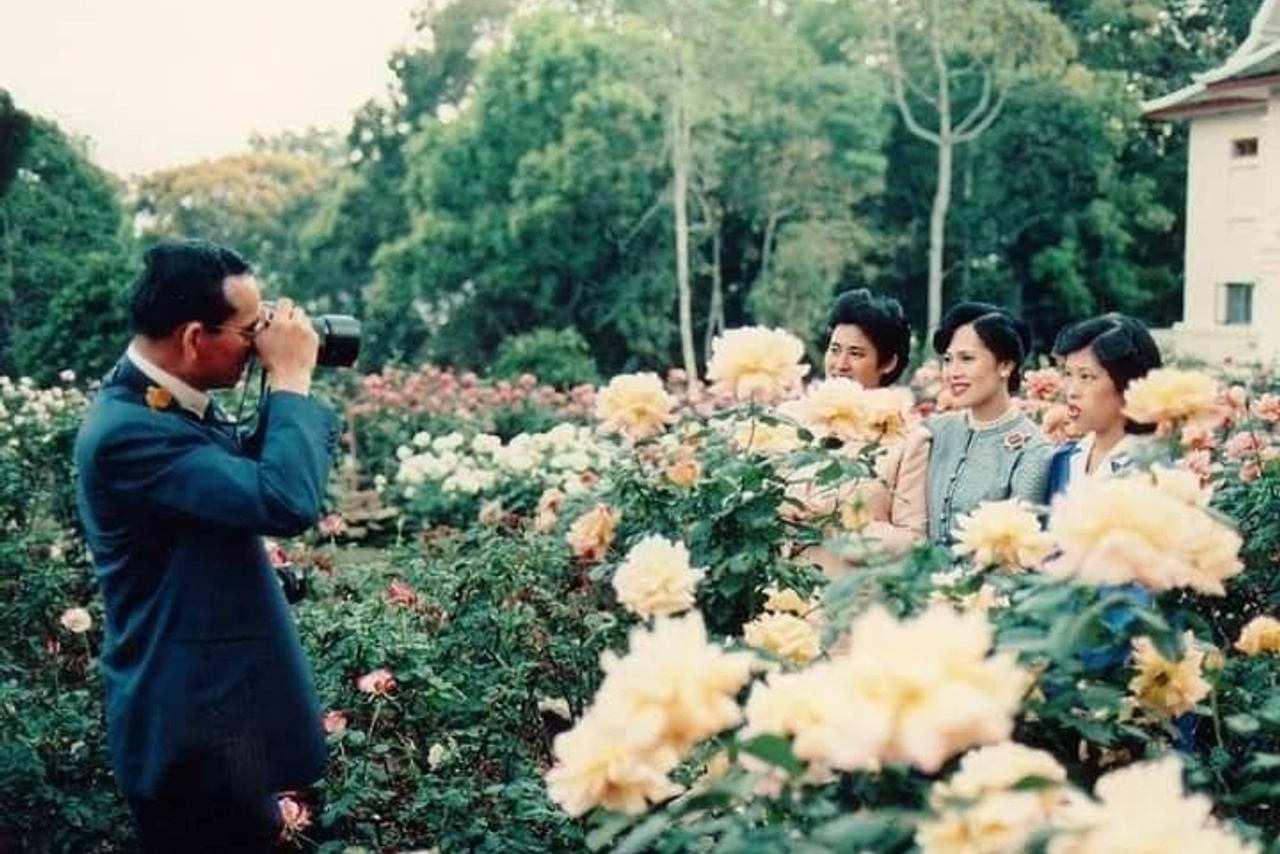
Rama IX (Bhumibol Adulyadej) — King of Thailand and Photographs


Guide to working with light and camera